


Kitchen Utensils
Have you ever dedicated an entire afternoon in the kitchen, only to find that your cake didn’t turn out quite right? You might not be using the right baking tools. That doesn’t matter so much when cooking, but not when you bake—measure ingredients accurately, mix things to the perfect texture and you’ll elevate your dessert from sweet to delicious.
We’ve shortlisted for you the most essential baking tools that will streamline your process and help you feel more relaxed, focused and in the mood to bake. So whether you’re an experienced baker or are just getting started, keep these tools in your kitchen to make baking a piece of cake.


1. Oven thermometer
Oven temperatures differ from one oven to the other and a couple degrees off can either make or break your dessert. Keep an oven thermometer on your oven rack and use it to check that it’s reached the desired temperature.
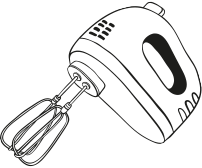
2. Mixers
For mixing doughs and batters easily and quickly without hurting your arm, a hand mixer comes in handy. You’ll find many good quality and affordable options in any supermarket. When following a recipe that calls for several minutes of mixing, or one that calls for larger amounts of dough or batter, a stand mixer is more efficient.


3. Kitchen scale
Keep in mind that precision is everything in baking and measuring ingredients inaccurately can lead to massive baking mistakes. Get a kitchen scale that measures ingredients in grams and you’ll always get proportions right.

4. Parchment paper
Put away the nonstick spray and spread a sheet of parchment paper on your baking pan instead. They don't only stop baked goods from sticking to the pan but can also make clean-up a much easier task. Or, go eco-friendly and get a reusable silicone baking mat that is heatproof.
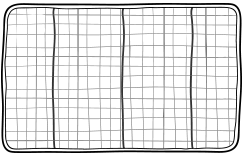
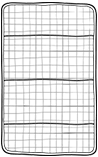
5. Cooling rack
Never let your baked goods cool in the pan or set on the counter. Instead, use a cooling rack—it’ll stop the cooking process and allow your baked goods to cool evenly and quicker by letting air circulate around and underneath them, so you won’t get soggy or overbaked treats.

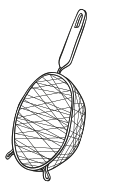
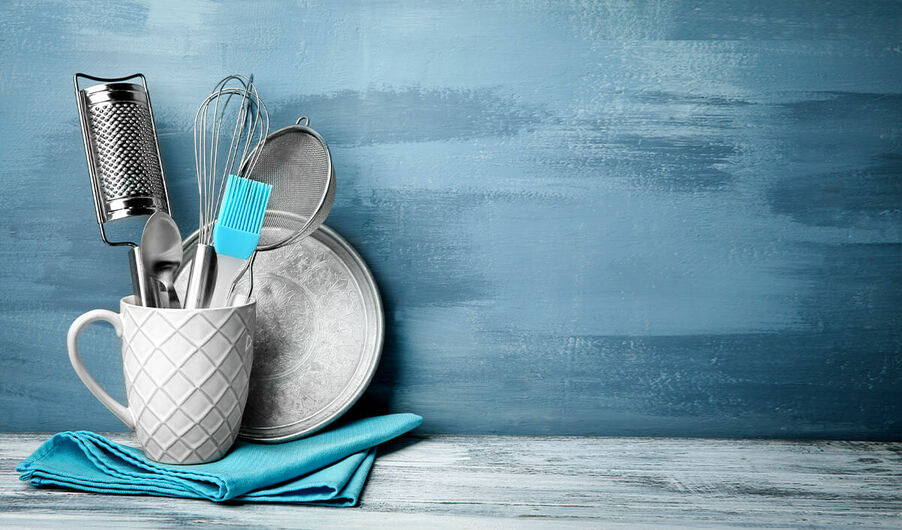
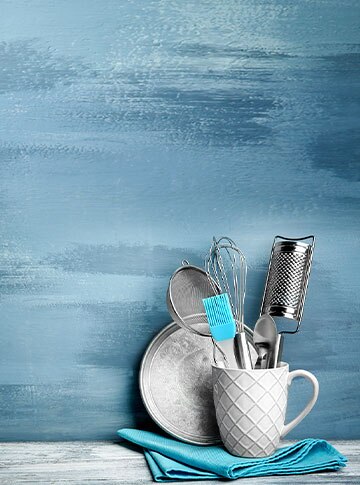
6. Sieve
Use this essential tool with a fine wire mesh to prevent clumps from forming in your dry ingredients—such as flour—and keep your batters light. They’re also handy for washing and draining smaller grains such as quinoa or chia seeds.


7. Rolling pin
You probably already know that a sturdy rolling pin helps you flatten pie crusts, cookie doughs and puff pastries, but they can also be used to smash cookies, chips, or crackers into pieces for recipes such as cheesecake. Make sure you do this in a sealable bag!
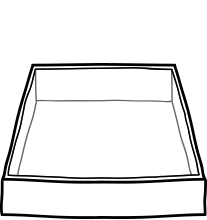
8. Baking pans
If you only have room for one type, choose a rectangular baking pan. It’ll work just fine for so many dessert recipes, such as cakes, brownies or cookie bars. There are also more specific types if you’re looking to upgrade your kitchen, including:
Round cake pans: For perfectly round cakes.
Square baking pans: For smaller batches of cookie bars, cakes or brownies.
Muffin tins: For muffins, cupcakes or even truffles.
Loaf pans: For baking bread loaves such as banana bread.

9. Half sheet pan
Also known as half sheet trays or rimmed baking sheets, these are useful when baking batter that is less runny. They also usually have larger surface areas than baking pans, so you can bake more cookies at a time.
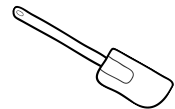

10. Silicone spatula
Scrape every last bit of batter from your mixing bowl or fold together wet and dry ingredients. Choose silicone over rubber as it is heat resistant so you can also use it to stir sauces over high heat without worrying.


11. Offset spatula
Also called cake spatulas or decorating spatulas, you’ll spread frosting onto the cake neatly and easily with the narrow metal blade, while the long handle will keep your hand out of the way.
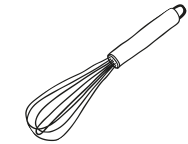

12. Whisk
Sometimes a fork is not enough. Use a whisk to combine dry ingredients thoroughly, eliminate lumps, stir custard on the stove and let air in when mixing eggs and cream to create fluffiness.
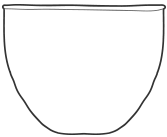
13. Mixing bowl
Invest in a set of stainless steel and glass bowls in many sizes to handle all your baking needs and keep wet and dry ingredients separate. And remember: always use a bigger bowl than you think you may need to prevent spillage.


14. Measuring cups and spoons
Get a full set of measuring cups and spoons for accurate smaller measurements that will ensure great results. You’ll use these tools all the time, so make sure to keep them within reach.
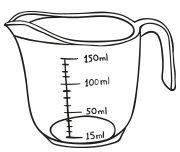
15. Liquid measuring cup
Measure water, milk, cream and other liquids more precisely. The lines and units along the sides help you get accurate quantities, and the spout helps pour the liquid without spilling.
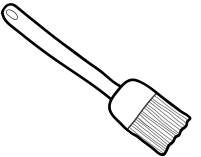

16. Pastry brush
Use a pastry brush to coat pastries and pie crusts with egg wash or milk for a beautiful golden brown color. It can also be used to grease pans with melted butter or shortening.


17. Wooden spoon
Last but definitely not least, always keep this traditional tool at hand. Classic for a reason, wooden spoons are strong, heat resistant, won't scratch your pans and are comfortable to hold.
Subscribe for Some Sweet Updates
I want to receive the latest news and information, offers and deals from Nestlé. I can unsubscribe at any time.
